Your legs feel heavy. Your back is tight. You have been on your feet all day or stuck at a desk for hours. Sound familiar?
Legs up the wall is the pose most people skip. But it might be the one your body needs the most.
You don’t need a yoga mat. You don’t need experience. You just need a wall and five to ten minutes.
This post covers the top benefits of the legs-up-the-wall pose you should know about. You will learn how to do it correctly, how long to hold it, the best variations, and who should avoid it.
What Is the Legs Up the Wall Pose?
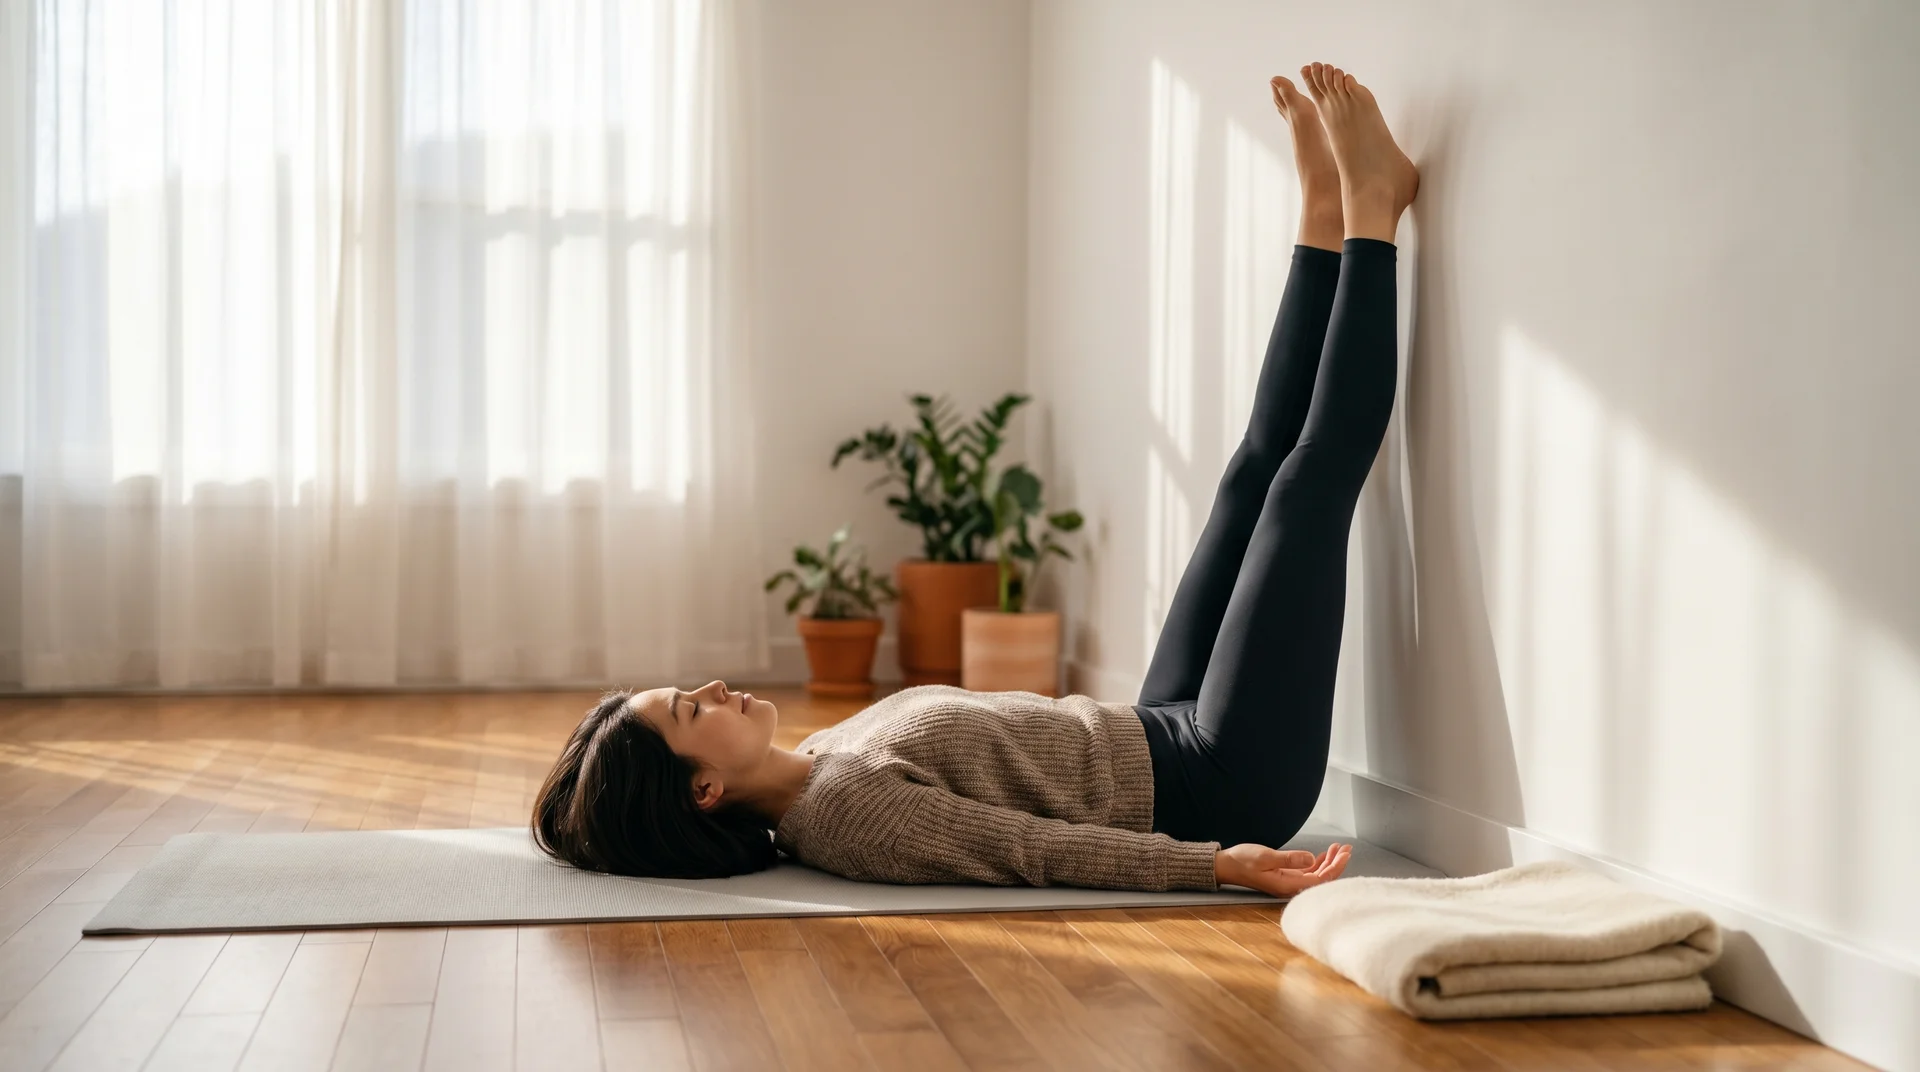
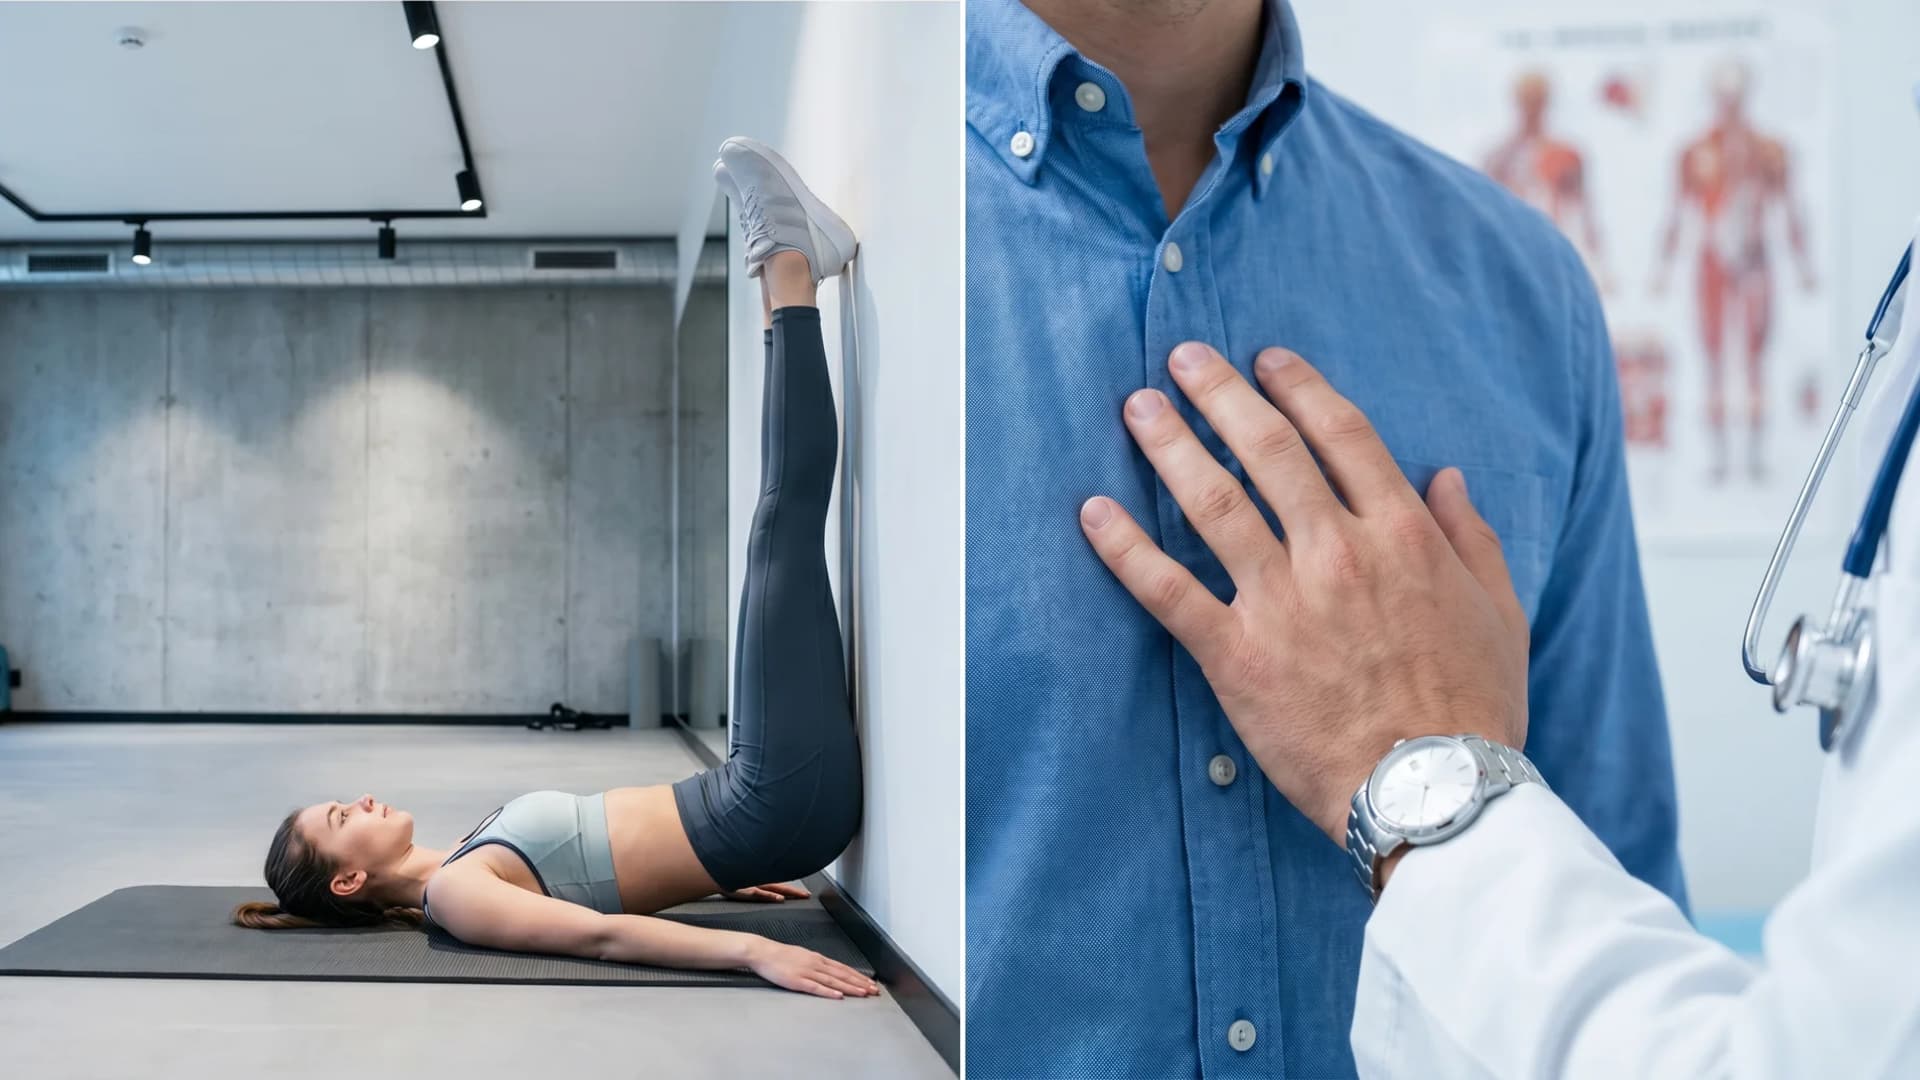
Legs up the wall is a yoga pose where you lie flat on your back with both legs resting straight up against a wall. You stay completely still. Your muscles do not work. The position lets your body recover without any active effort on your part.
| Feature | Details |
|---|---|
| Pose Name | Legs Up the Wall |
| Sanskrit Name | Viparita Karani |
| Pose Type | Restorative, Passive Inversion |
| Skill Level | Beginner-Friendly |
| Recommended Hold Time | 5 to 20 minutes |
| Props Needed | Wall, optional blanket or bolster under the hips |
| Main Muscles Involved | Hamstrings, lower back, hips |
| Best Time to Practice | Evening, post-workout, or after long sitting or standing |
This pose fits into any daily routine without taking much time or space. Five minutes before bed or after a long day at your desk is all you need to start feeling a difference.
8 Legs Up the Wall Benefits

This pose may look simple. But the legs-up-the-wall yoga pose quietly works on multiple parts of your body at the same time. Here is what it can do for you.
1. Reduces Swelling in the Legs and Feet
Fluid tends to collect in your legs and feet after prolonged standing or sitting. Raising your legs above heart level lets gravity pull the fluid back up, reducing puffiness and heaviness. People who are on their feet all day often feel noticeable relief within just a few minutes.
2. Eases Lower Back Pain
The pose takes direct pressure off your lumbar spine. Your hip flexors release, and your lower back muscles finally get a real break from holding your body upright all day. It works especially well after long desk sessions or extended time spent driving.
3. Improves Blood Circulation
With your legs raised above your heart, blood flows back toward your chest with less effort. This supports healthy circulation and may help people who deal with varicose veins or persistent leg heaviness.
According to the American Heart Association, poor circulation in the legs can lead to serious health issues, and leg elevation may help reduce swelling and discomfort.
4. Calms the Nervous System and Reduces Stress
This pose activates the parasympathetic nervous system, which is the part of your body responsible for rest and recovery. Even five quiet minutes here can lower your heart rate and ease built-up tension from the day. It is one of the fastest ways to shift your body from a high-alert state to a calm one.
5. Helps with Mild Anxiety and Sleep Problems
The pose signals your brain that it is safe to slow down. Many people add it to their evening routine as a wind-down tool before bed. Pair it with slow nasal breathing and a quiet, dark space for the best results.
6. Relieves Tired or Sore Muscles After Exercise
After a run or a hard workout, your legs carry a lot of built-up fluid and tension. Elevating your legs helps your body clear that buildup faster. Many athletes pair this with a few minutes in a sitting on legs pose beforehand to release quad tightness before lying down.
7. Stretches the Hamstrings and Hips Gently
You don’t need to force anything in this pose. Just resting your legs up against the wall creates a light, passive stretch along the back of your legs and through your hips. This is especially good for people who spend most of the day at a desk.
8. Supports Lymphatic Drainage
The lymphatic system relies on gravity and movement to keep fluid flowing through the body. Raising your legs supports this flow, which may help reduce puffiness and support your immune function.
As reported by the National Cancer Institute, the lymphatic system plays a direct role in fluid balance and immune response throughout the body.
How to Do the Legs Up the Wall Pose?
The setup takes less than a minute once you know what you’re doing. Small details in your positioning make a real difference in how comfortable and useful the pose feels for your body.
What You Need:
- A clear wall space
- A yoga mat or soft surface to lie on
- Optional: a folded blanket or bolster to place under your hips for extra lower back support
Step-by-Step Instructions:
- Sit sideways on the floor with your right hip touching the wall.
- Swing your legs up the wall as you lower your back flat to the floor.
- Shift your position so your hips sit close to or touch the wall.
- Let your arms rest at your sides, palms facing up.
- Close your eyes and breathe slowly through your nose.
- Stay here for 5 to 20 minutes.
Common Mistakes to Avoid:
- Placing your hips too far from the wall
- Keeping your legs tense instead of letting them go soft and relaxed
- Holding your breath instead of breathing naturally and slowly
- Skipping a bolster when your lower back feels strained on the floor
Tutorial: Watch this short step-by-step tutorial to see the exact setup in action: legs up the wall yoga pose tutorial
Legs Up the Wall Variations to Try
Not everybody fits the same position. These variations let you adjust the pose to your flexibility and comfort level. Try one that fits where you are right now.
| Variation | How to Do It | Best For |
|---|---|---|
| Supported Variation | Place a folded blanket or bolster under your hips before raising your legs | Lower back tightness or general floor discomfort |
| Butterfly Legs | Bring the soles of your feet together and let your knees drop wide | Hip tightness or inner groin release |
| Wide Leg Variation | Spread both legs wide apart against the wall | Inner thigh stretch and hip opening |
| Legs Up with a Strap | Loop a yoga strap around your feet to hold your legs in a straight position | Very tight hamstrings that make straight legs hard |
| Chair Variation | Rest your calves on a chair seat instead of the wall | Anyone who finds direct wall placement uncomfortable on the hips |
Who Should and Shouldn’t Do Legs Up the Wall
This pose works well for most people and needs no special fitness level to try. But a few conditions make it worth checking with a doctor before you get started.
Who Should Do It:
- People who sit or stand for long hours at work
- Anyone dealing with swollen feet or puffy ankles at the end of the day
- People with mild lower back tension or stiffness
- Those who want a simple way to wind down before sleep
- Athletes and runners looking for a quick post-training recovery method
- Anyone feeling stressed, mentally tired, or mildly anxious
- Beginners who want to start a yoga practice with low injury risk
Who Should Avoid It or Check with a Doctor First:
- People with glaucoma or raised eye pressure (passive inversions may raise pressure further)
- Those with severe acid reflux or a hiatal hernia
- People with uncontrolled high blood pressure
- Anyone recovering from recent abdominal or spinal surgery
- Women in late-stage pregnancy (lying flat on the back can restrict blood flow)
- People who get dizzy or lightheaded easily during rest positions
If any of these apply to you, speak with your doctor first. A modified version or a different restorative pose may be a safer fit for your body.
How Long Should You Hold the Pose?
Most individuals get good results holding the pose for 5 to 20 minutes. Beginners should start at 5 minutes and build from there as they get used to it.
If you feel tingling or numbness in your feet or any discomfort in your lower back, come out of the pose slowly.
To exit safely, bend your knees first, roll to one side, and pause for a few seconds before sitting up. Sitting up too fast after the pose can cause brief lightheadedness.
Final Thoughts
The benefits of legs up the wall go far beyond just resting your tired feet.
This pose supports circulation, eases back pain, calms your nervous system, and helps your muscles recover after a long day. And it costs you nothing but a wall and a few quiet minutes.
You don’t need a gym. You don’t need gear. You just need to show up and lie down flat on the floor.
Start with five minutes tonight. Pay attention to how your body feels. If you want simpler, more practical wellness tips delivered straight to your inbox, sign up for our free newsletter below.